Here we are… your wedding is over, your gallery has been delivered, and it is now time for you to preserve those memories is a gorgeous wedding album. But oh boy that whole task seems intimidating… am I right??
Rather than having “make wedding album” a task that lives unchecked on your to do list, let’s do it together and get it done NOW. The process does not have to be overwhelming; I am here to help. If you haven’t checked out the albums page on my website yet, go do that now! Cause that’s step 1.
We are now at step 2: Selecting photos for your wedding album.
Again, this step may seem intimidating, but it really doesn’t have to be. With my help and the tips below, you’re not gonna have any problem choosing the best photos to tell your wedding story.

Let’s start with the biggest question of all…
How many photos should I choose??
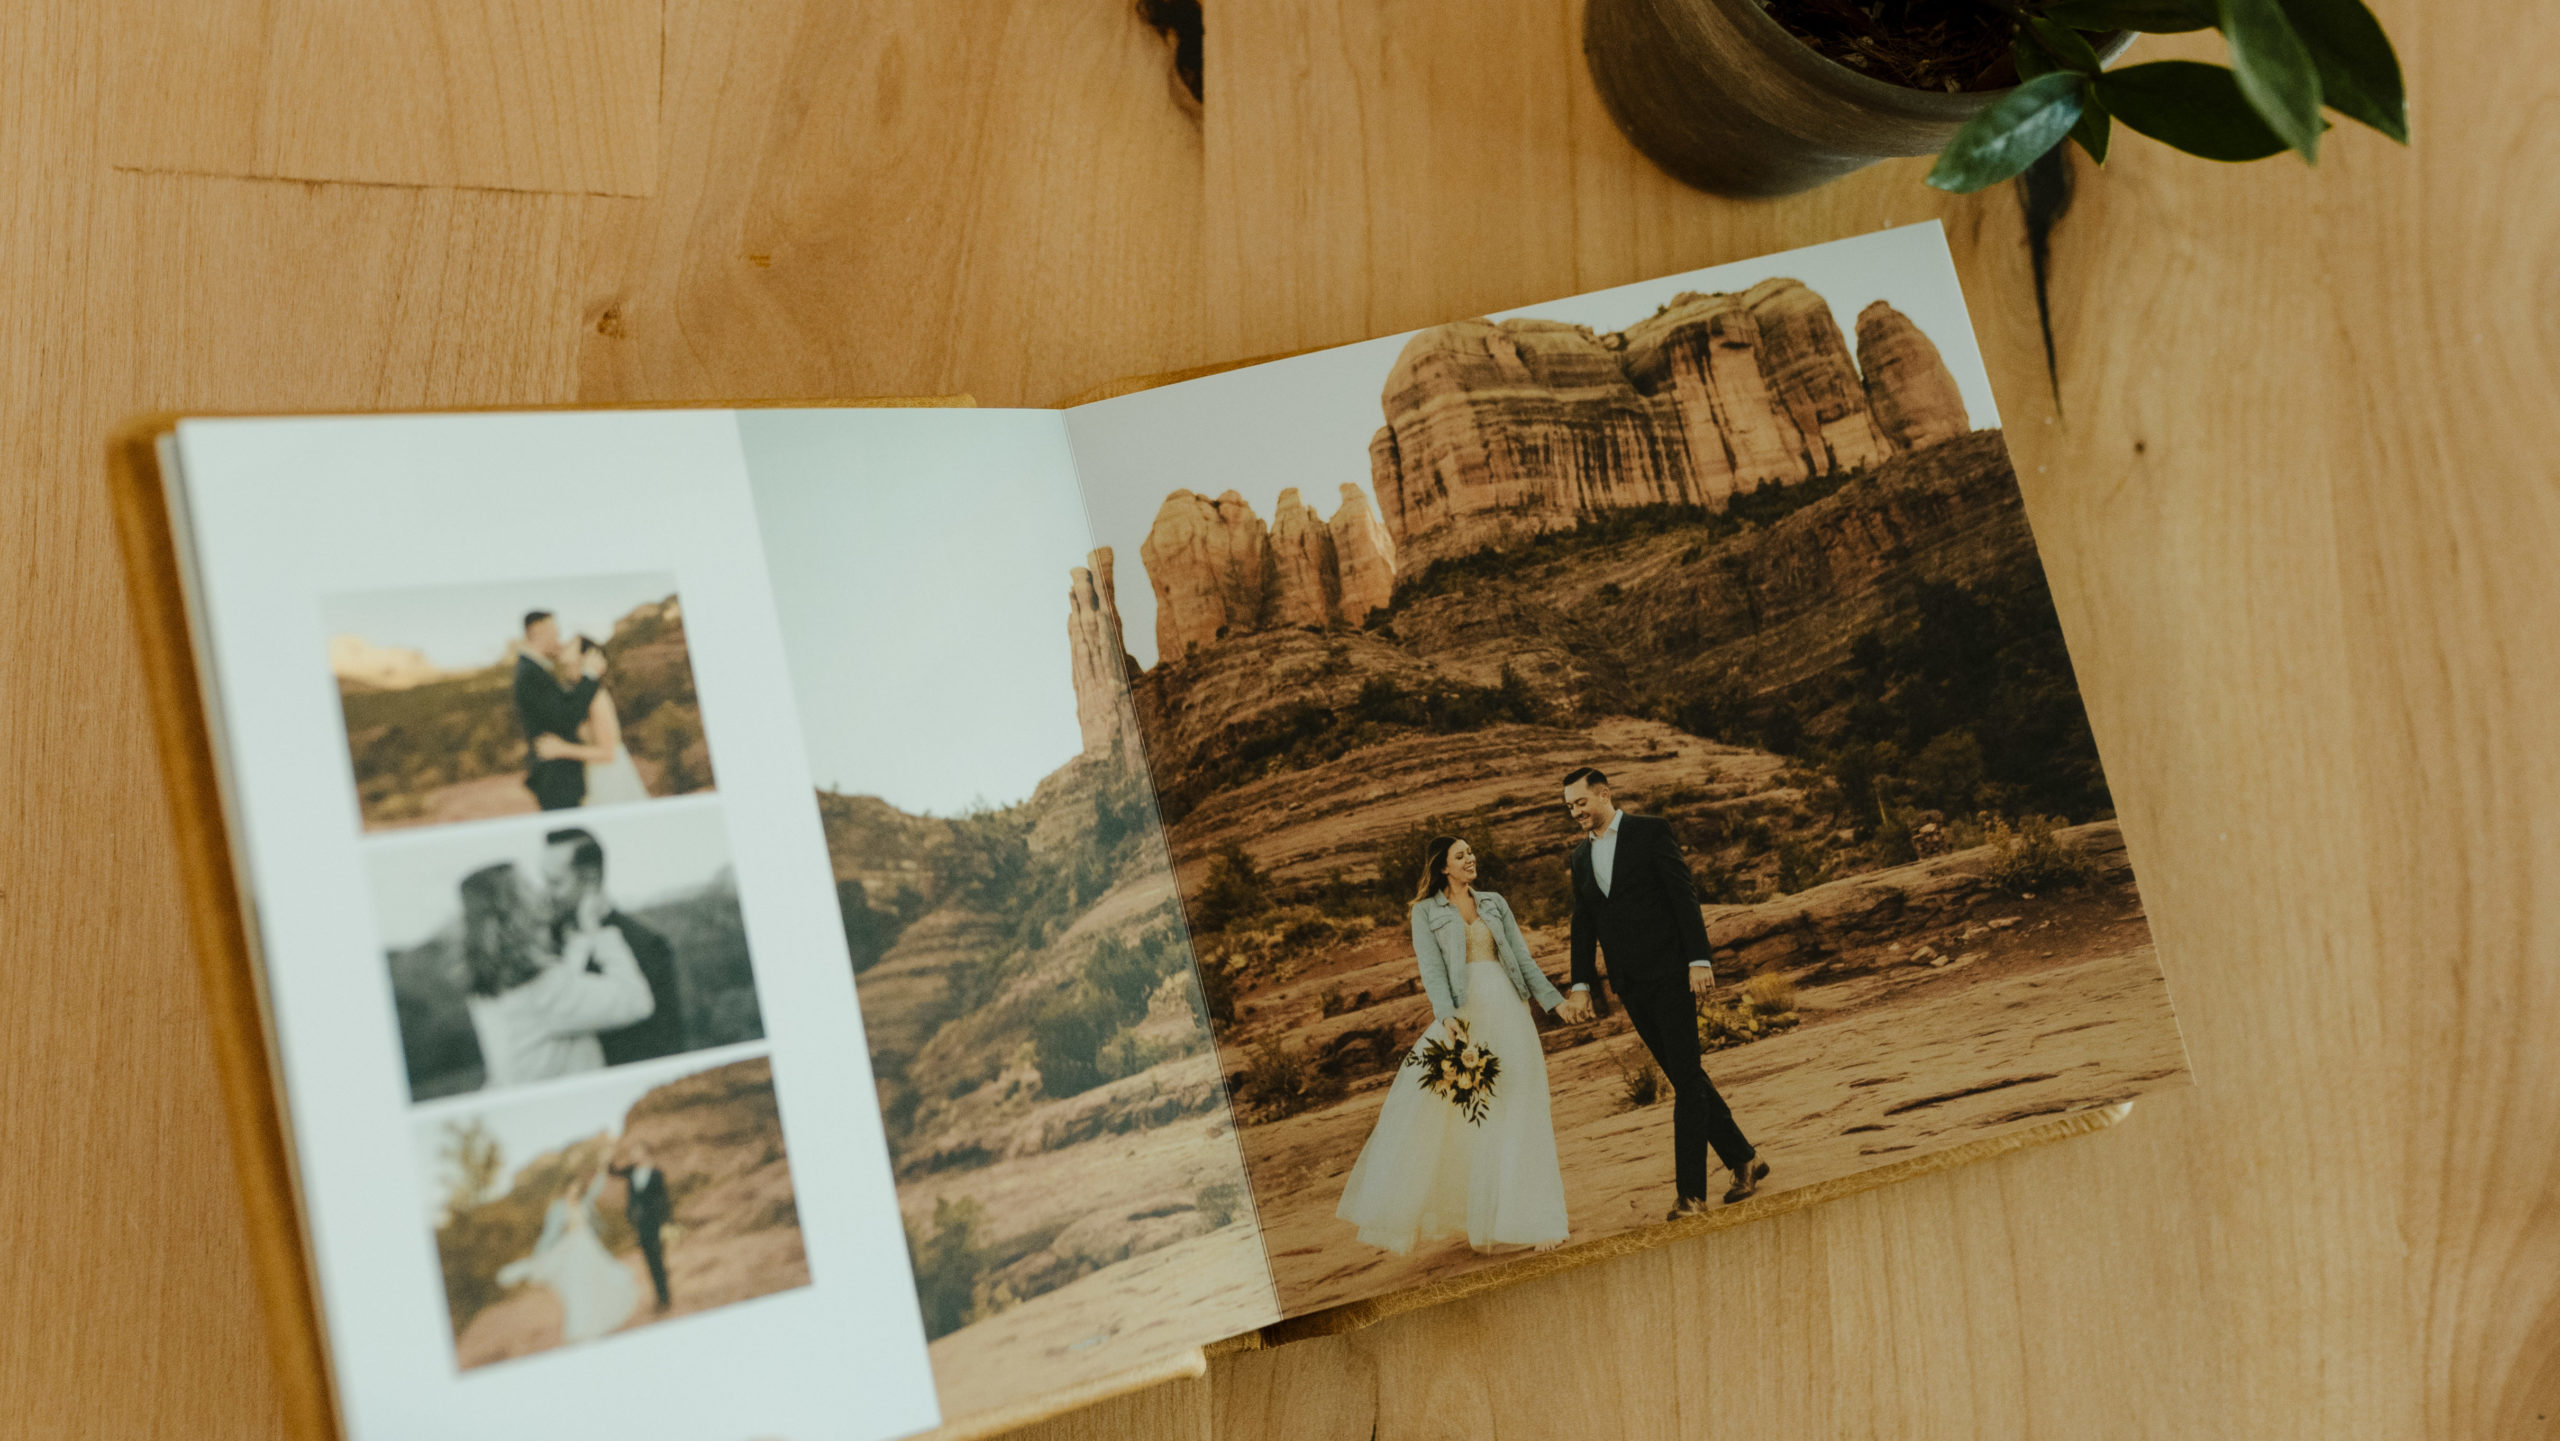
Remember that the amount of photos you select directly correlates to the amount of spreads your album will have. (average about 3-5 images per spread) If you’re trying to keep your album small, stick to a smaller number. If you’re going bigger, then obviously you’ll have to select more.
For weddings, I suggest 20 spreads as the minimum amount needed to tell every aspect of your wedding story and the sweet spot range is 25-30 spreads. Now obviously this may be different depending on the size of your wedding but for the most part this is what I have found works best.
This means that for weddings, the amount of images you will need to select is about 75-150 images.
If you are creating an album for a session or guest book, the amount of photos is really up to you. You automatically get 10 spreads so I would suggest anywhere from 25-50 images.
Now that we have an idea of the amount of photos to choose, let’s talk about what kinds of photos you will want to include in your selection.
Your Wedding Album Will Tell A Story
I know when you think of a wedding album, you may just think of a cool scrapbook that has your favorite pictures from your wedding day. That is great, but your album can be so much more than that. This book is going to tell the story of your wedding and share all the beautiful moments throughout the entire day. Don’t just think of it as a chronological record or a collage of your favorite pictures; I want you to think of it like a story book.
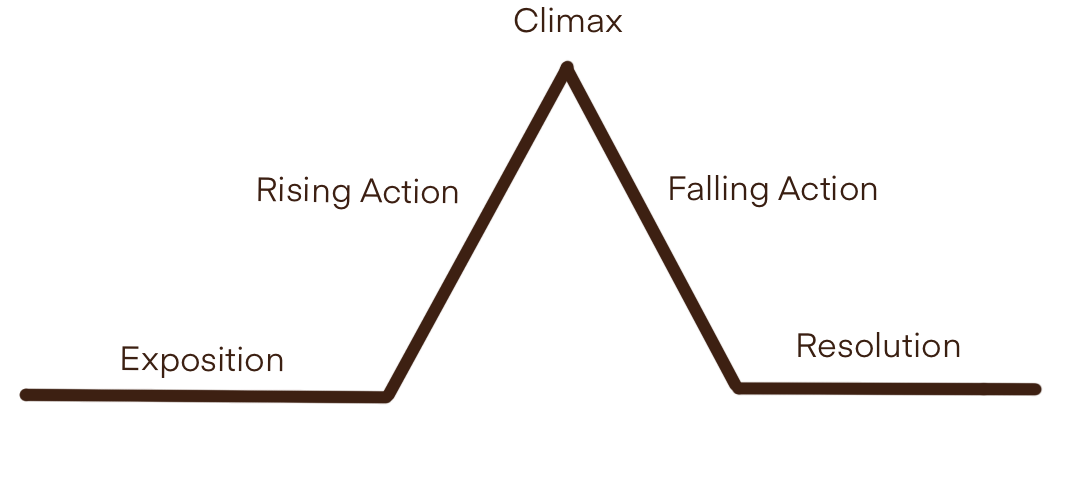
Just like a story, your album will go through a plot. Let’s throw it back a little to elementary school when we learned about story writing. Do you remember this diagram??

Let’s touch on each part really quick so we can better understand how to tell your wedding story.
Exposition: Setting the scene and creating a vibe. In order to transport yourself back to your wedding day you want to make sure you establish the environment. We do this through venue shots, detail photos, and landscapes. These photos you probably passed in your wedding gallery and thought they were unnecessary but including some of these photos into your album is crucial for you to be able to experience the whole day over again.
Climax: This refers to the big events. These are going to be the parts of the day that take up a lot of spreads. Some of these big events are the Ceremony, Newlywed Portraits, and the Reception as a whole.
Rising Action/Falling Action: Since there’s not really a conflict on your wedding day, this really is more referring to all the parts of the day that are in between the big events. Things like getting ready, family photos, wedding party photos, cocktail hour, etc. These parts of the day may not seem as important to include in the album but without them it will feel like the album is missing something. These smaller events lead us from one big event to the other, help us to establish the environment, and build up out emotions.
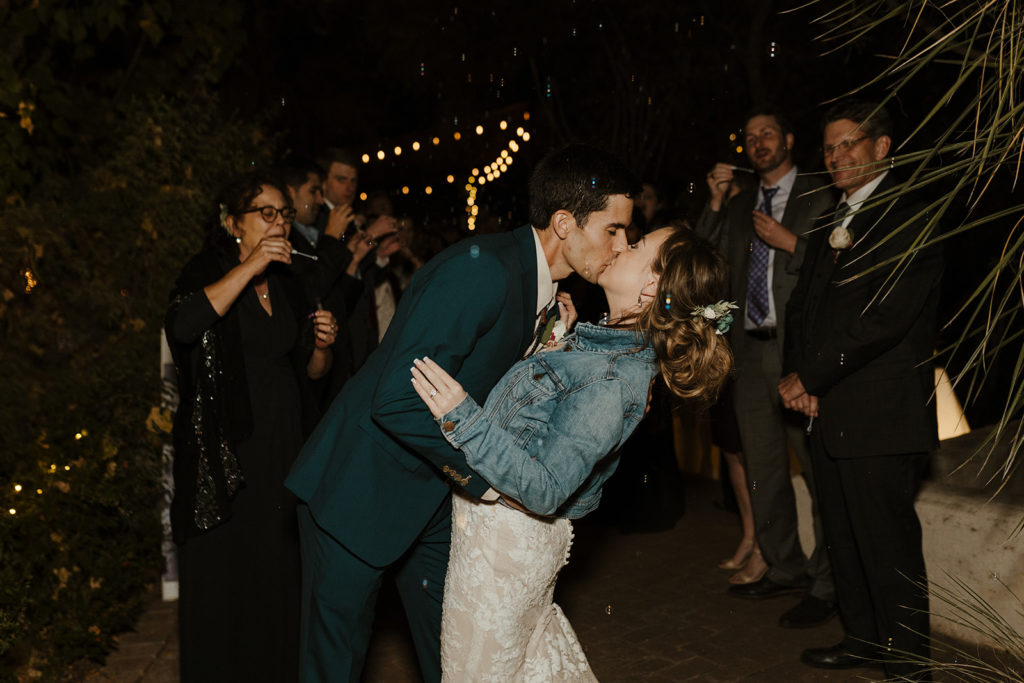
Resolution: A great ending to your wedding day. This can be a last dance, sparkler exit, romantic stargazing, anything to help you go out with a bang and wrap everything up in the end.
Break the Day up Into Sections
Rather than looking at your 800+ photo gallery as a whole, you want to divide it up into smaller sections. Consider what part of the story each section tells. What is its importance and purpose? This will help you know what images actually contribute to the overall story and which may not.
Here’s a list of how much space in the album I like to dedicate to each part of the day.

- Details: 1 Spread
- Getting Ready: 2-3 Spreads
- First look + Pre- Ceremony Portraits: 2 Spreads
- Other Pre-Ceremony Moments: 2 Spreads
- Ceremony: 5-6 Spreads
- Family Photos: 1-2 Spreads
- Wedding Party Photos: 2 Spreads
- Newlywed Portraits: 4-6 Spreads
- Reception Details: 1 spread
- Dances/ Toast/ Dinner/ Cake Cutting: 2-3 Spreads
- Dancing + Party: 2-3 Spreads
- Exit: 1-2 Spreads
Must Have Photos
In order to be sure nothing is missing, I’ve created a quick list of my “must have photos” when it comes to creating your album.
- Bridal party in their robes or pajamas
- Details/ Invitation Suite/ Bridal Bouquet, Etc
- Groom Getting Ready
- Bride Getting Ready
- First Look Photos (with parents, with wedding parties, couple if applicable)
- Ceremony (groom, bride, flower girl, ring bearer)
- First Kiss + Exit
- Wedding Party Photos
- Family Photos
- Newlywed Photos
- Reception Room
- First Dance
- Reception Activities
- Exit
All the Rest
Once your must have photos have been established, it will be easier for you to go through and select all the extra favorites you have. Other things that will show more about what the wedding was like. This a great place to choose photos with family members and other guests that are outside of the wedding party.
Leave Room for Some Creative Liberties
Since the next step after this is design, it’s important to note how your selection will affect this part.
Designing is a process. I create the first design and send it to you for feedback. Once you send me notes, I take those notes and fix things accordingly. This continues till we get the perfect album designed for you.
As the designer, I reserve the right to take some creative freedom. That means that I may not include all 150 photos you put in your selection. I may leave some out that I don’t feel are necessary or I couldn’t find room for. I could change some images to black and white or to color. I might choose to add in a photo that was not in the selection because I feel it contributes to the story more than the one you selected.
My point is, you may be surprised in that first draft to see some of these things. These are some of the choices I may make as a designer. And of course, you have the opportunity to tell me that you want something changed in the edits. That’s the beauty of this process. I only mention this because I want you keep an open mind and see where the design process can take us.

This is For You
At the end of the day, all these suggestions are just that: suggestions. This is your wedding and your wedding album. I wrote this blog post as a guide so that you wouldn’t feel lost and overwhelmed when choosing your photos. But if you don’t agree with something that I recommended or want things a little bit differently that is totally okay! I want this album to be something you’re so excited about and feel is a perfect representation of your wedding, not something I forced on you.
So choose the photos you want that will tell the story that you like. What do you want your album to remind you of 10 years down the line?? What moments do you want your future kids to see and ask you about?? That’s really what this is all about. I’m so excited to create this book for you and have it be something that you truly treasure.
As someone who recently tied the knot, I cannot stress enough how essential a wedding photo album is to preserve those precious moments from the most special day of your life. When I first embarked on the journey of planning my wedding, I never fully appreciated the significance of a well-crafted photo album. However, now that I have one in my hands, I can confidently say it’s worth every moment and penny invested.
I bought this wedding photo album https://www.scrapdragon.com.au/8.5×8.5-mbi-expressions-white-wedding-photo-album